Best Practices for Cleaning Jet Ski Injectors

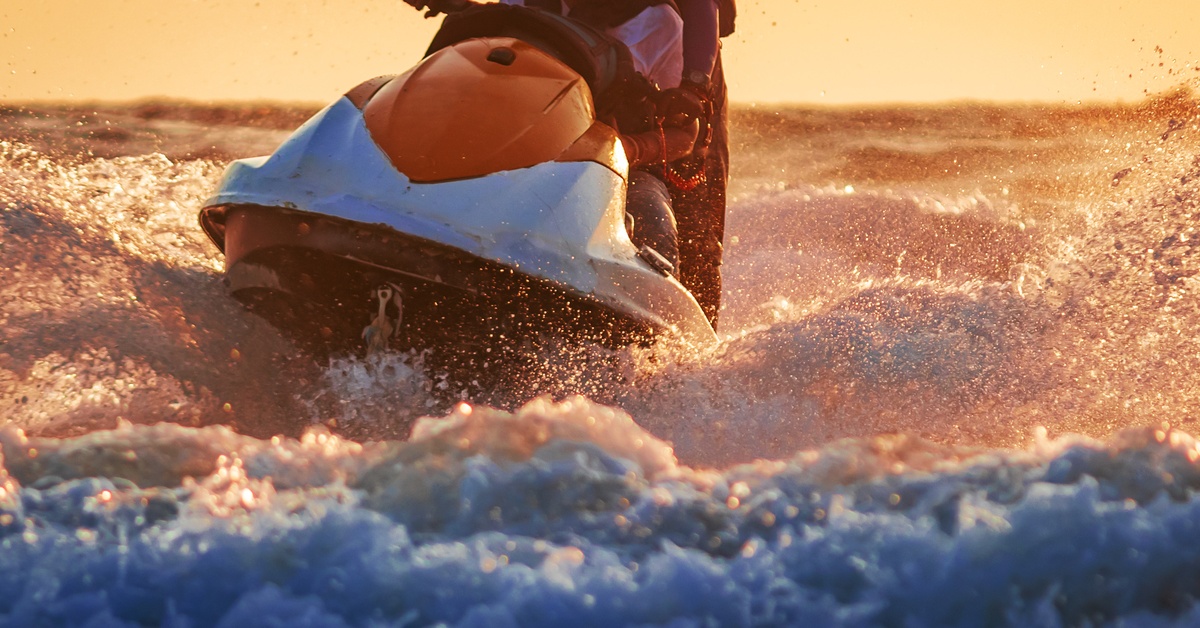
When you hit the throttle on your personal watercraft (PWC), you expect immediate acceleration. A hesitation, bog, or rough idle often points to one specific culprit: the fuel system. Fuel injectors play an important role in modern jet skis, delivering precise amounts of fuel to the engine hundreds of times per second. Even a microscopic amount of debris or varnish can disrupt this flow, leading to poor performance or catastrophic engine failure.
Maintaining clean injectors ensures your engine runs efficiently and protects internal components from lean conditions. A “lean” run occurs when the engine gets too much air and not enough fuel, which raises combustion temperatures rapidly. This heat melts pistons and destroys engines. Keeping injectors clean is about keeping the machine alive. Below, SBT outlines several best practices for cleaning jet ski injectors.
Identifying Symptoms of Clogged Injectors
Before tearing into the engine bay, you must confirm the injectors are the likely problem. Dirty injectors rarely fail completely at once. Instead, they exhibit gradual symptoms. You might notice the ski struggles to reach its top RPM, or the engine vibrates excessively at idle. Hard starting, especially when the engine is warm, also indicates leaking injectors that flood the cylinders.
Modern fuels contain ethanol, which attracts water and degrades over time. This degradation leaves behind varnish and gum deposits inside the tiny fuel passages. If the ski sat for winter without fuel stabilizer, clogged injectors are almost a guarantee.
Establishing a Safe Workspace
Working with fuel requires strict safety protocols. Gasoline vapors are heavier than air and settle in the hull of a jet ski. One spark can cause an ignition. Always work in a well-ventilated area, preferably outdoors or in a shop with open bay doors.
Disconnect the battery before starting any fuel work. This prevents accidental sparks if a tool touches a live wire. Keep a Class B fire extinguisher within arm’s reach. Wear safety glasses to protect your eyes from pressurized fuel spray, which can happen even when the engine is off.
Assembling the Required Tools
You cannot clean injectors properly without specific equipment. While pouring a bottle of cleaner in the tank helps with minor maintenance, physical cleaning requires removal. You need a few specialized items to do the job right:
- Metric socket set and ratchets
- Fuel line disconnect tools
- Ultrasonic cleaner (crucial for deep cleaning)
- Injector pulsing tool or 9-volt battery with alligator clips
- Carburetor or fuel injection cleaner spray
- Replacement O-rings and internal filter baskets
- Clean shop rags

Depressurizing the Fuel System
Fuel rails hold pressure long after you shut down the engine. Pulling an injector immediately will spray gas everywhere. Locate the pressure relief valve located on the fuel rail, often covered by a plastic cap similar to a tire valve stem.
Wrap a towel around the valve and press the center pin to free the pressure safely. If your model lacks a test port, wrap a rag around the fuel line connection at the rail and slowly loosen the fitting. The rag catches the small amount of fuel that escapes.
Removing the Fuel Rail Carefully
The fuel rail holds the injectors in place on the intake manifold. Remove the bolts securing the rail. Gently wiggle the rail back and forth to break the seal of the O-rings. Do not pull up forcefully, as you might crack the rail or leave an injector stuck in the manifold.
Once the rail is loose, detach the electrical clips from each injector. Mark each connector if the harness lengths are similar so that you plug them back into the correct cylinder later. Pull the injectors out of the rail, watching for small retaining clips that might fall into the hull.
Differentiating Between Injection and Carburetion
It’s important to know exactly what system your PWC uses before ordering parts. Most skis manufactured after the mid-2000s use electronic fuel injection.
However, if you’re restoring an older vintage model, you are likely dealing with carburetors. In that case, an injector cleaning process won’t apply; you will need to source a jet ski carburetor rebuild kit to address the internal diaphragms and jets. For modern skis, focus strictly on the solenoid-driven injectors.
Cleaning With Ultrasonic Technology
The most effective way to remove internal varnish is an ultrasonic cleaner. These machines use high-frequency sound waves to create cavitation bubbles in a cleaning solution. When these bubbles collapse, they blast debris away from surfaces microscopic brushes cannot reach.
Fill the cleaner with a mixture of water and a specific injector detergent. Place the injectors in the basket. Run the cycle for 15 to 20 minutes. The solution often turns cloudy or dark, indicating the removal of dirt and grime from the injector bodies.
Verifying the Spray Pattern
You must verify the output after cleaning. Connect the injector to a pressurized source of cleaner fluid and power it on. Observe the shape of the mist. You want a symmetrical, cone-shaped mist that atomizes the fluid into tiny droplets.
A solid stream indicates a blockage or a damaged pintle. Droplets that drip from the tip after the power cuts off indicate a leaking injector. If an injector fails this visual test after cleaning, discard it. A bad spray pattern creates hot spots in the cylinder, leading to engine damage.
Replacing O-Rings and Micro Filters
Never reuse rubber seals. The old O-rings compress and harden over time. Reusing them invites fuel leaks (fire hazard) or air leaks (lean condition). Remove the old O-rings carefully using a plastic pick to avoid scratching the metal body.
Most injectors also have a tiny filter basket pressed into the top inlet. Use a specific removal screw tool to pull the old filter out. Press a new filter in until it seats flush. Install new O-rings on the top and bottom of the injector.
Lubricating and Reinstalling Components
Dry rubber tears easily against metal surfaces. Before pushing the injectors back into the fuel rail or intake manifold, coat the new O-rings with a small amount of engine oil or dielectric grease. This lubrication allows the injector to slide into place smoothly without rolling or pinching the seal.
Press the injector firmly until you feel it click or seat fully. Reinstall the retaining clips. Bolt the fuel rail down evenly to ensure the injectors sit straight. Reconnect the fuel lines and electrical harness.
Need more support? Partner with the team at SBT and we’ll help you with various parts and repairs to ensure your jet ski injectors receive the cleaning they not only need but deserve.
No Comments Yet